
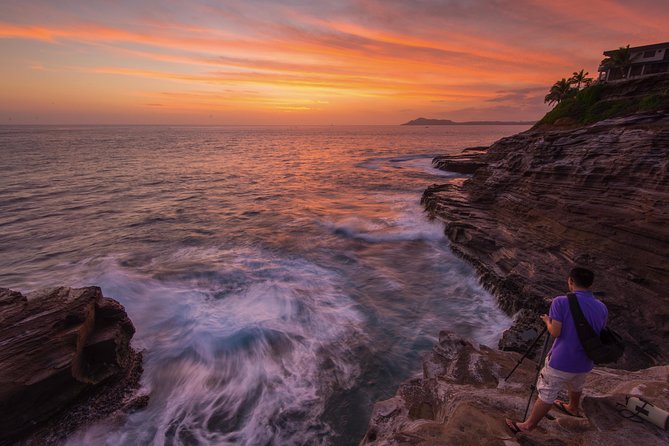
Reviewed · EVENING EXPERIENCES
Honolulu Sea-Cliff with Sunset Photo Adventure
Sunset on Oahu gets serious fast. This tour strings together cliff lookouts and photo-ready stops in a tight, small-group ride, ending right where the light turns dramatic.
I love that you’re not just dropped at viewpoints; you get guidance from a photographer guide plus live commentary in the van. I also like the pacing: quick, useful stops (mostly 20 minutes) that keep you chasing the best light. One drawback: because it’s weather-dependent and you’re out walking at lookouts and gardens, you’ll want good footwear and a flexible attitude.
You’ll start from the Honolulu Zoo area if you’re meeting there, or you’ll get round-trip hotel pickup in Waikiki from selected hotels. Then the route moves from inland color to ocean cliffs, with a long sunset finale at China Walls.
In This Review
- Key points before you go
- The real draw: a photographer-led sunset run, not a bus tour
- Price and value: $99.95 for 5.5 hours of “where to stand” help
- Getting picked up in Waikiki (and how to plan your start)
- Stop 1: Tantalus Lookout for skyline color before the ocean
- Stop 2: Lanai lookout over the Kaiwi Coast (and wildlife odds)
- Stop 3: Makapu‘u Point for hang gliders and “action” framing
- Stop 4: Koko Crater Botanical Garden for close-up texture
- Stop 5: Halona Blowhole for raw power at sea level
- Stop 6: China Walls for sunset on volcanic cliffs
- What makes the guiding style feel personal
- Pace, walking, and who this tour fits best
- Weather, timing, and expectations for the sunset moment
- Practical packing checklist for better photos (and comfort)
- Should you book the Honolulu Sea-Cliff with Sunset Photo Adventure?
- FAQ
- What is the duration of the Honolulu Sea-Cliff with Sunset Photo Adventure?
- How much does the tour cost?
- Do you offer hotel pickup in Waikiki?
- Where is the meeting point if I’m not using pickup?
- Is food included?
- What photo and guiding support is included?
- How many people are on the tour at most?
- What should I wear?
- Can the tour be canceled if weather is bad?
Key points before you go
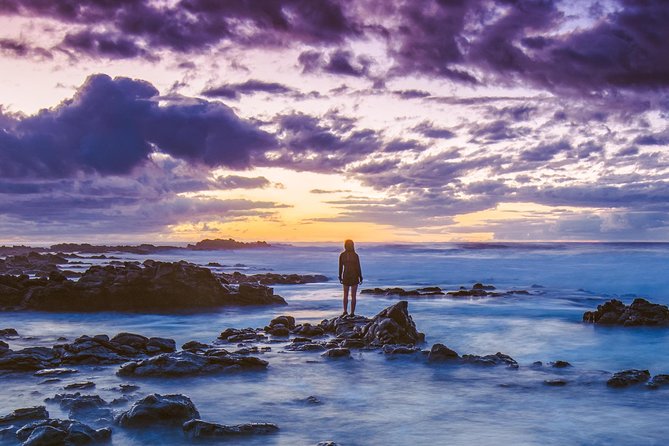
Small group (max 7) means more time with the guide and camera coaching
Photographer help at multiple stops, including tips for phones and cameras
Tight timing across major east Oahu viewpoints, ending at China Walls for sunset
No food included, so plan water and snacks on your own
Weather matters; the best light is also when conditions can change quickly
The real draw: a photographer-led sunset run, not a bus tour
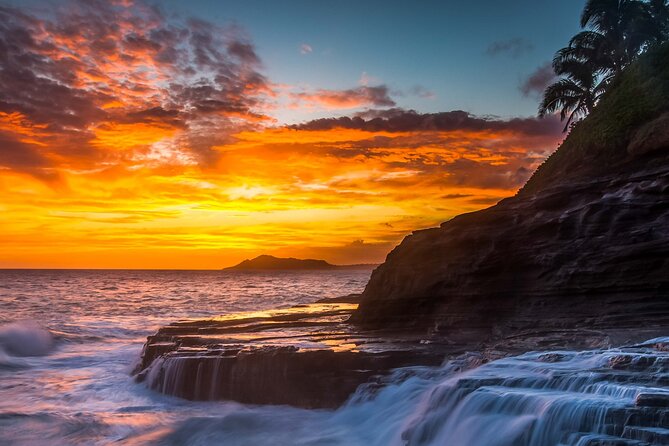
On Oahu, you can drive to viewpoints on your own. But doing it with a guide changes the whole feel of the afternoon.
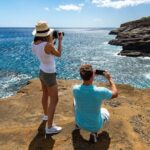
First, you get photo direction. That matters because golden-hour photos often fail for boring reasons: wrong angle, harsh shadows, or forgetting the simple settings on your phone. The tour includes a photographer guide and live commentary, and past guests have specifically highlighted that the coaching helps people get better results, even with everyday devices.
Second, the small group size is practical. With up to 7 travelers, it’s easier to hear the story behind each stop and easier for the guide to work with the group’s photo needs. You’re not waiting behind a crowd just to take one shot.
The route also has a smart rhythm: quick lookouts for variety, then a longer hold for sunset. At China Walls, you’re there long enough to try a few angles instead of rushing the moment.
More frames from around the island
- From Waikiki: Best of Oahu Photo Tour with Pickup★ 4.9 · 274 reviews
- Beautiful Colors of Hawaii Photo Tour★ 5.0 · 165 reviews
- Honolulu Sea-Cliff with Sunset Photo Adventure★ 5.0 · 94 reviews
- Flying Dress Photoshoot on Oahu★ 5.0 · 92 reviews
Price and value: $99.95 for 5.5 hours of “where to stand” help
At about $99.95 per person for roughly 5 hours 30 minutes, this isn’t an all-day sampler. It’s a focused, late-afternoon style outing.
Here’s the value math I’d use:
- You’re paying for hotel pickup from Waikiki (selected hotels), so you’re not fighting traffic or parking.
- You’re paying for time efficiency: multiple major stops across the island’s east side without having to map it all.
- You’re paying for on-the-spot photo direction. If you care about getting photos you’ll actually keep, that coaching is the part that adds up.
If you’re the type who’s happy with one postcard shot and then moves on, you may wonder what you couldn’t do alone. One comment you’ll want to keep in mind: the places are public, so the “value” is mostly the guidance, pacing, and timing—not exclusive access.
Getting picked up in Waikiki (and how to plan your start)
The day is built around convenience. You can meet at Honolulu Zoo, 151 Kapahulu Ave, Honolulu, and the tour also offers pickup at selected Waikiki hotels. Pickup isn’t guaranteed from every property, so confirm your exact pickup location directly.
A couple practical tips for your day:
- Arrive early if you’re meeting at the zoo area. Late-arriving groups can cost everyone photo time.
- If you’re getting pickup, keep your phone charged and have your mobile ticket ready.
- Dress code is tropical, but bring a light layer too. Lookouts can get breezy in late afternoon.
Group size is small, but the schedule is still tight. Think: “efficient sightseeing with short photo windows.”
Stop 1: Tantalus Lookout for skyline color before the ocean
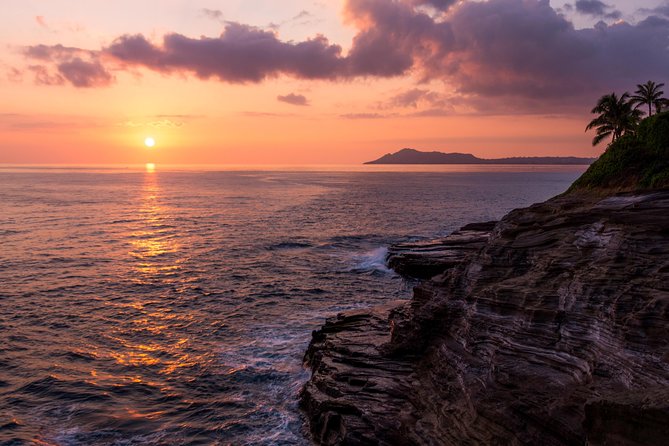
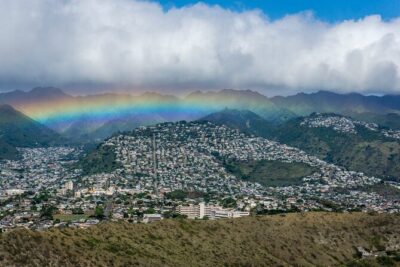
The first big moment is at Tantalus Lookout in Puu Ualakaa State Park. This is your warm-up: high views, color, and a chance to get the sky and shoreline vibes before you head toward the coast.
You’ll usually have about 20 minutes here. That sounds short, but it’s actually ideal for a first stop. You’re not stuck. You’re there long enough to get a skyline photo and also to let your guide organize group pictures.
What I like about starting here: it sets the tone. Then, as you move east, the ocean gets bluer and the cliffs get more sculpted. If you care about photography, getting your “overview” shot first helps your whole set make sense.
Other ways into an island evening
- Oahu’s Waikiki Coast: Moana’s Sunset Cocktail Sail
★ 5.0 · 2,205 reviews - Honolulu: Three Star Deluxe Sunset Dinner Cruise and Show
★ 4.5 · 1,204 reviews - Sunset Dinner Cruise in Honolulu, Hawaii
★ 4.0 · 1,023 reviews - Waikiki Signature Sunset Catamaran Sail
★ 4.5 · 890 reviews - Oahu Catamaran Waikiki Sunset on 40 Foot Catamaran: Food and BYOB
★ 5.0 · 836 reviews
Stop 2: Lanai lookout over the Kaiwi Coast (and wildlife odds)
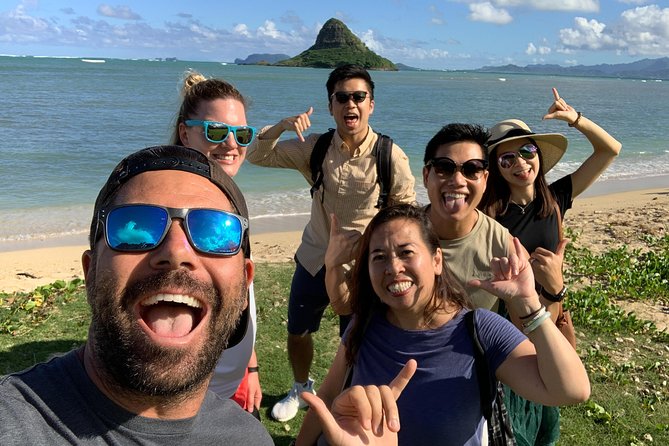
Next up is Lanai lookout, focused on views over the Kaiwi coastline. This is one of the places the guide team leans into because it can produce more than just scenery.
The plan includes the possibility of spotting whales, turtles, or seals. You’re not guaranteed wildlife, but the lookout point is chosen for a reason: it gives you long sightlines over the water.
You get about 20 minutes at this stop. My advice: don’t treat it like a quick check-in and walk away. Sit for a moment, watch for movement, and let your photos come second. Even if you don’t see wildlife, you’ll still get those long coastal views that feel different from Waikiki beaches.
Stop 3: Makapu‘u Point for hang gliders and “action” framing
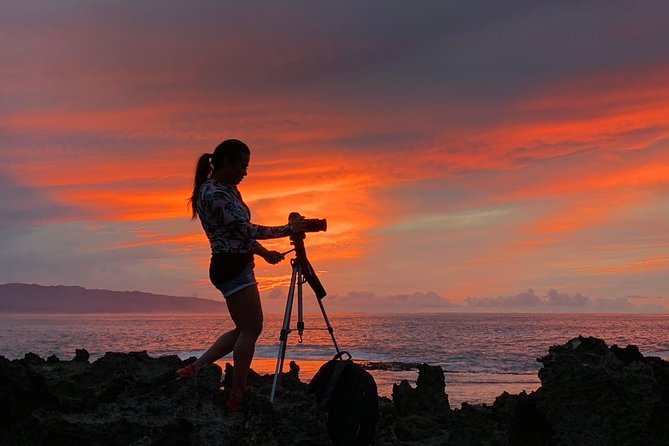
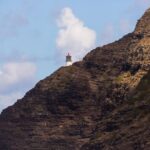
Then you hit Makapu‘u Point, a spot where the ocean and the sky both do something. One of the most photogenic scenes here is watching hang gliders catch the wind above the water.
You get another 20-minute window. That’s enough to capture a few passes, especially if your guide is helping you set up angles.
Why this stop works for photos: it gives you a moving subject against a consistent background. It’s easier to practice than a static viewpoint. You can try:
- wide shots that show the whole scene
- tighter shots that isolate the glider against the water
- phone-friendly angles that avoid harsh glare
Stop 4: Koko Crater Botanical Garden for close-up texture
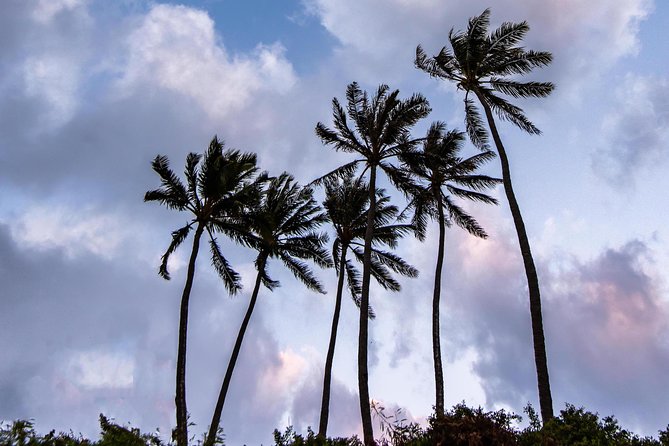
From big views, you shift to something more intimate at Koko Crater Botanical Garden. This is a short stop—about 20 minutes—but it’s a nice change of pace after cliffs.
Expect a garden vibe: a spot to smell flowers, plus the chance to capture photos with texture. One practical note from the route description: some times of the year, leaves have fallen, and that creates interesting foreground material for pictures.
The main drawback here is what you’d expect from a garden stop: you’ll want shoes you can trust. You’re not dealing with steep climbs, but you are moving on paths and around landscaping.
If you like variety in your photo set, this stop helps a lot. It breaks the “only cliffs, only ocean” pattern.
Stop 5: Halona Blowhole for raw power at sea level
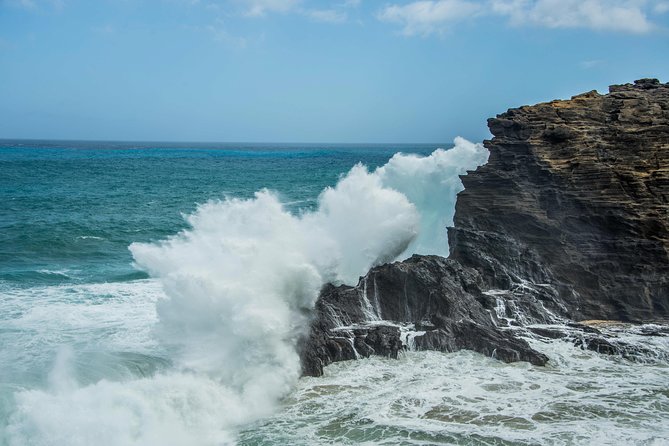
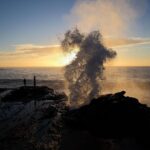
Then comes a contrast: Halona Blowhole. Instead of soft garden light, you get force.
The idea is simple: this is a place where the ocean’s energy is visible. The description calls it the kind of power you need to witness before you leave the islands.
You have about 20 minutes. Blowholes can be unpredictable, so don’t plan your entire photo fantasy around one perfect eruption. Plan to show up, aim your camera, and be ready when the moment happens.
This is also a good stop for people who want something different from the standard “look at water” viewpoint. The sea is doing the acting.
Stop 6: China Walls for sunset on volcanic cliffs
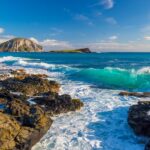
You finish at China Walls, the tour’s longer finale—about 45 minutes—and the spot built specifically for sunset.
This is the location described as a great place for sunset on the cliffs of a volcanic mountain. It’s also where the guides tend to get very practical with timing. You want to be set up before the light changes fast.
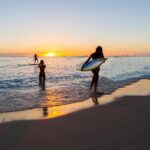
One thing to know: sunset doesn’t always cooperate. Cloudy conditions can happen, and you may end up photographing surfers or getting spectacular coastal drama without a perfect orange sky. That still counts as a win here because China Walls gives you strong cliff structure and ocean action.
If you care about photos, this is where you slow down. Try a few positions:
- one wider shot for the coastline scale
- one medium shot that frames the surfer or waves
- one close-ish shot that uses rock texture and shadow
And if your guide offers camera and phone adjustments, this is the time to ask for the quick version. The more light you have left, the more your changes will show.
What makes the guiding style feel personal
Across the tour descriptions and the guide names shared by past guests, a pattern shows up: guides aren’t just reciting facts. They’re running a photo workflow.
People have credited guides like Chris, Andrew, Alex, Kurt, Gabe, Hui, and Nui (names that have come up repeatedly) for being both informative and fun, with a special focus on helping you get better shots. Several mentions include tips for adjusting your camera or phone, and directing you on where to stand so you’re not guessing.
That’s a big deal if you’re traveling with someone who wants photos and someone else who wants the story. This kind of guide can give both without dragging the group.
Pace, walking, and who this tour fits best
The physical level is described as moderate physical fitness, which tells me two things:
- You should be comfortable standing and walking short distances.
- You should be okay with stairs or uneven ground in lookouts and the botanical garden.
This tour is a strong fit for:
- couples who want a shared photo moment and a clear itinerary
- small friend groups who like meeting people but hate big crowds
- anyone who wants a local’s help timing scenic stops
- travelers who want a practical route without renting a car for an afternoon
It may feel less satisfying if you’re:
- expecting beaches and long lounging time
- only looking for one or two sites and nothing else
- highly sensitive to weather changes (since the tour needs good conditions for best results)
Weather, timing, and expectations for the sunset moment
This experience is weather dependent. That’s not a small detail. For a sunset photo tour, cloud cover can change what “success” looks like.
If the sky cooperates, China Walls can deliver that classic cliffside glow. If not, you can still get:
- dramatic coastal light
- strong wave movement
- surfer and shoreline action
Either way, the key is staying flexible. Bring a light layer, and treat the stop as a photo lab for the last hour of daylight.
Practical packing checklist for better photos (and comfort)
Because food and drinks aren’t included, I’d plan like this:
- Water (you’ll want it during an afternoon that runs into sunset)
- A small snack if you’re prone to hunger
- Sunscreen and sunglasses
- Closed-toe shoes with grip (lookouts and garden paths)
- Phone with extra battery (and a charging cable if you have one)
- A light layer for wind at cliff points
For photos:
- Clean your lens before you start.
- Take a couple test shots early at each stop so you know your settings are working.
- When your guide offers tips, ask for the quickest version. Then apply it right away at the next viewpoint.
Should you book the Honolulu Sea-Cliff with Sunset Photo Adventure?
If you want a late-afternoon east Oahu photo route with hotel pickup, a small group, and actual photography help, I think you’ll be happy booking this. The pricing makes sense when you factor in transport and the “where to stand and how to shoot” guidance that saves time and frustration.
I would hesitate if you’re mostly looking for the ability to say you visited a list of viewpoints. The places are public, so the value is in the guide execution—timing, direction, and small-group pacing.
My simple decision rule: if sunset photos matter to you, and you don’t want to spend your day figuring out viewpoints, this is a smart use of time in Oahu.
FAQ
What is the duration of the Honolulu Sea-Cliff with Sunset Photo Adventure?
It runs for about 5 hours 30 minutes.
How much does the tour cost?
The price is $99.95 per person.
Do you offer hotel pickup in Waikiki?
Yes, pickup is offered only at selected hotels in Waikiki. You’ll need to confirm the pickup location.
Where is the meeting point if I’m not using pickup?
The listed start meeting point is Honolulu Zoo, 151 Kapahulu Ave, Honolulu, HI 96815. The activity ends back at the meeting point.
Is food included?
No. Food and drinks are not included.
What photo and guiding support is included?
The tour includes a driver/guide with live commentary and a photographer guide to help with photo opportunities.
How many people are on the tour at most?
The tour has a maximum of 7 travelers.
What should I wear?
The dress code is tropical.
Can the tour be canceled if weather is bad?
The experience requires good weather. If canceled due to poor weather, you’ll be offered a different date or a full refund.
Once the Sun Is Down
More Tour Reviews in Oahu


More Frames of the Trip


Just Reviewed: More Oahu Tours

Evening Experiences, compared.
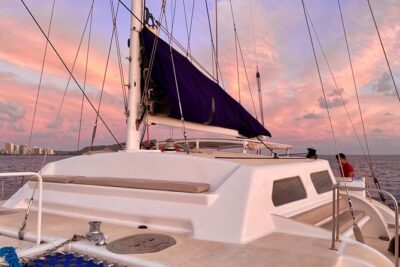 ★ 5.0Oahu’s Waikiki Coast: Moana’s Sunset Cocktail SailFrom $892,205 reviews
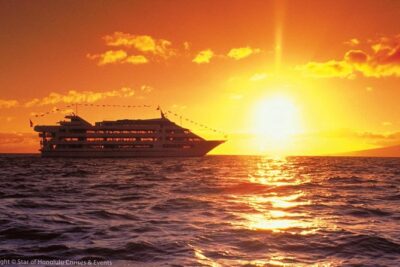 ★ 4.5Honolulu: Three Star Deluxe Sunset Dinner Cruise and ShowFrom $1931,204 reviews
 ★ 4.0Sunset Dinner Cruise in Honolulu, Hawaii1,023 reviews
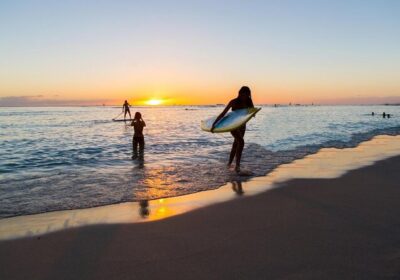 ★ 4.5Waikiki Signature Sunset Catamaran SailFrom $89890 reviews
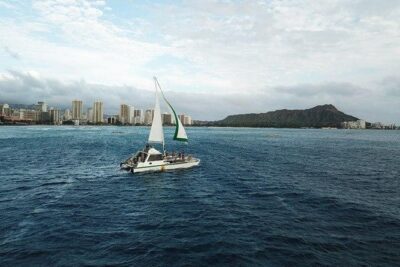 ★ 5.0Oahu Catamaran Waikiki Sunset on 40 Foot Catamaran: Food and BYOBFrom $44836 reviews
 ★ 5.0BYOB Sunset Cruise off the Waikiki CoastFrom $44694 reviews
 ★ 4.5Honolulu: Pacific Star Sunset Dinner Cruise and ShowFrom $139633 reviews
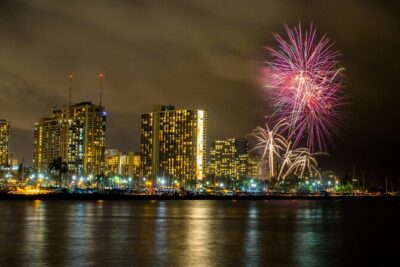 ★ 4.5Waikiki: Friday Night Fireworks Catamaran CruiseFrom $67610 reviews
Where else this tour ranks